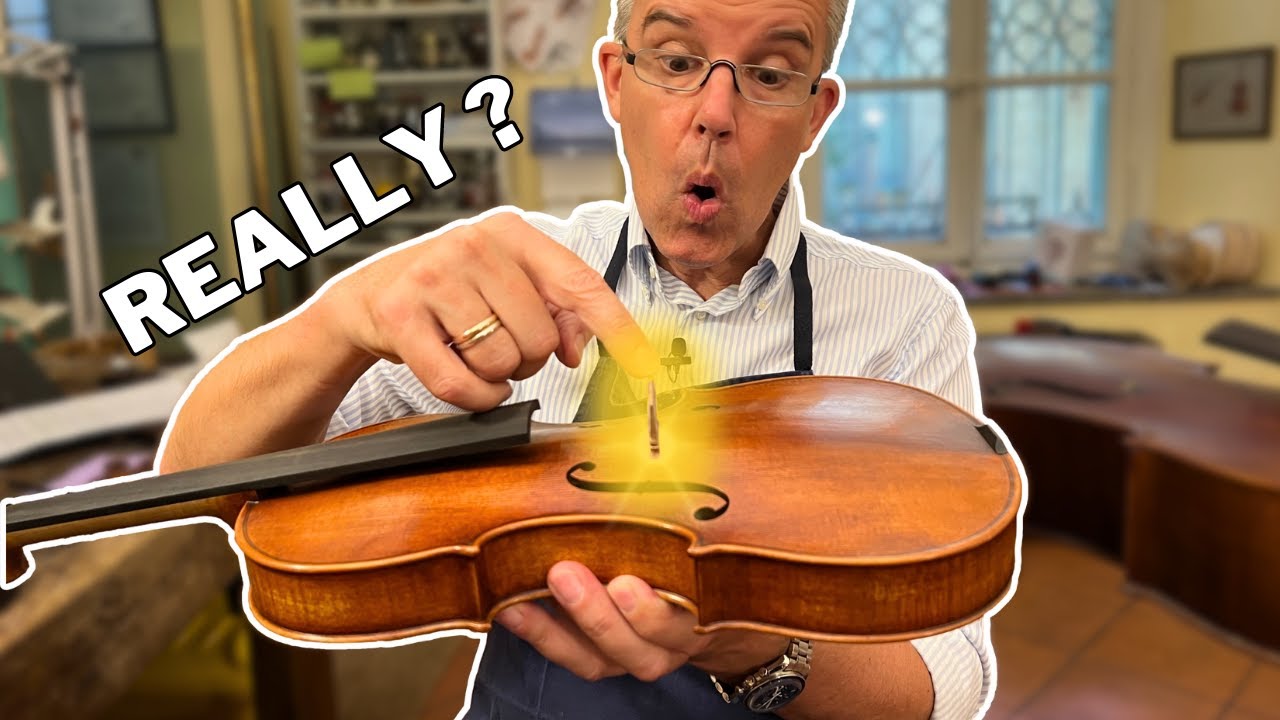
The importance of fitting the bridge
Hello and welcome back to my blog, where I tell you about my tips and tricks to get best sounding instruments.
What if I tell you there is a crucial detail that is often overlooked by violin makers? I am talking about the feet of a bridge, and why it is important to fit them.
I still remember the very first time I fitted the feet of my first violin and all my colleagues were paying a lot of attention at this step. I did it as good as I could, my craftsmanship wasn't that well perfected at that time but I somehow thought that the violin makers would be exaggerating the importance of such a tiny detail. I thought "you can't hear the difference for something so small, this actually won't matter".
Over the years I learned the trade, I became better and years passed by very quickly! I slowly discovered why I should fit the feet, especially with Carl Becker in Chicago: it is actually influencing the final acoustical result! Who would have thought?
Now I'll explain you here what this is all about!
When you fit your bridge, you should put it in a specific place and it should always stay in that place.
I usually sign the perfect position with two dots on the top of the instrument, which you will have to detect again later when fitting the feet. Then, a great idea to help you fit the feet is to use a red lipstick! I usually take some lipstick with a brush and apply it to the area in which the bridge should go.
I put the bridge back on the top and then I lift it up, to see that the lipstick has left some tiny traces. Because of this traces I know where the bridge is touching the top and I can take away some material, to make the surface of the foot straight and bump-less.
You have to use only very little lipstick and you want the bridge to be perfectly matching with the top.
Remember that when you have the strings on, even if it's not so well fitted, it will perfectly close because it will be smashed perfectly thanks to the pressure of the strings.
Why it is so important? Because the whole vibration of the instrument starts here: this is the heart of the acoustics of the violin!
Of course this is a small detail and we already are at a certain level of quality sound. We're talking about the 95% of sound being perfect and here comes the 5%... but believe me it makes a big difference!
If you would like to see how I use this technique in practice, look at the video here!
Another tiny thing is that you need to put a bridge spreader on a cello bridge, most makers don't even care about bridge feet spreaders, but it is important to create the tension of the strings.
It's just a tiny detail which increases the quality of the sound, but if you are really into this topic then I suggest check in out my Edgar Online Violin Making Academy. The setup course is only about this matter, about cutting a bridge and fitting it to perfection!
I hope you enjoyed this explanation, let me know your comment and if you have any questions!
Greetings from Cremona,
Edgar


Leave a comment
This site is protected by hCaptcha and the hCaptcha Privacy Policy and Terms of Service apply.